
Welcome! I'm Einav
Greetings! I'm delighted that you discovered my little piece of online paradise. Join me as we relish in the comforts of our home centered lifestyle. I'm enthusiastic about living naturally, from scratch cooking, and establishing a home that's a true reflection of who we are, as Individuals and as a family. Let's celebrate the everyday beauty of life as we share our experiences together!


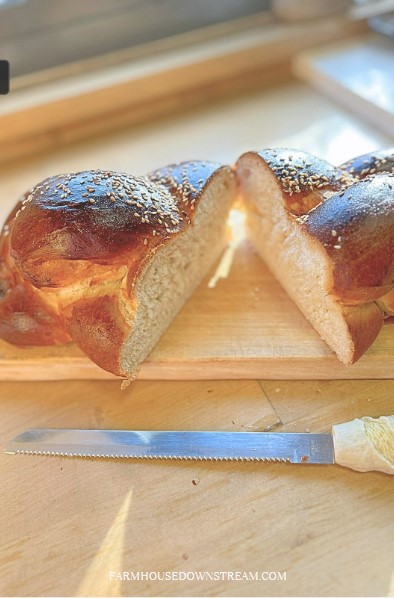
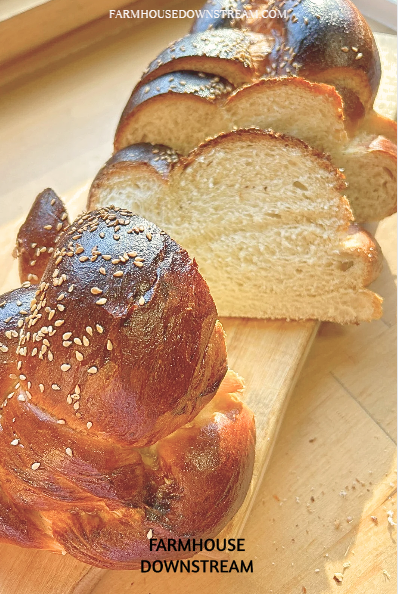
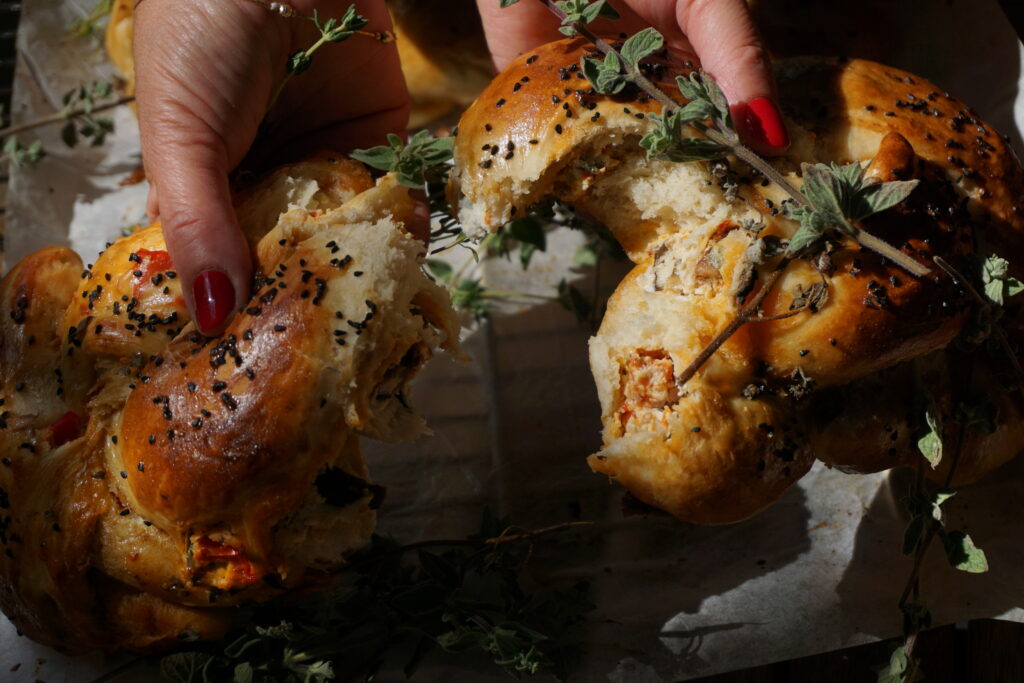
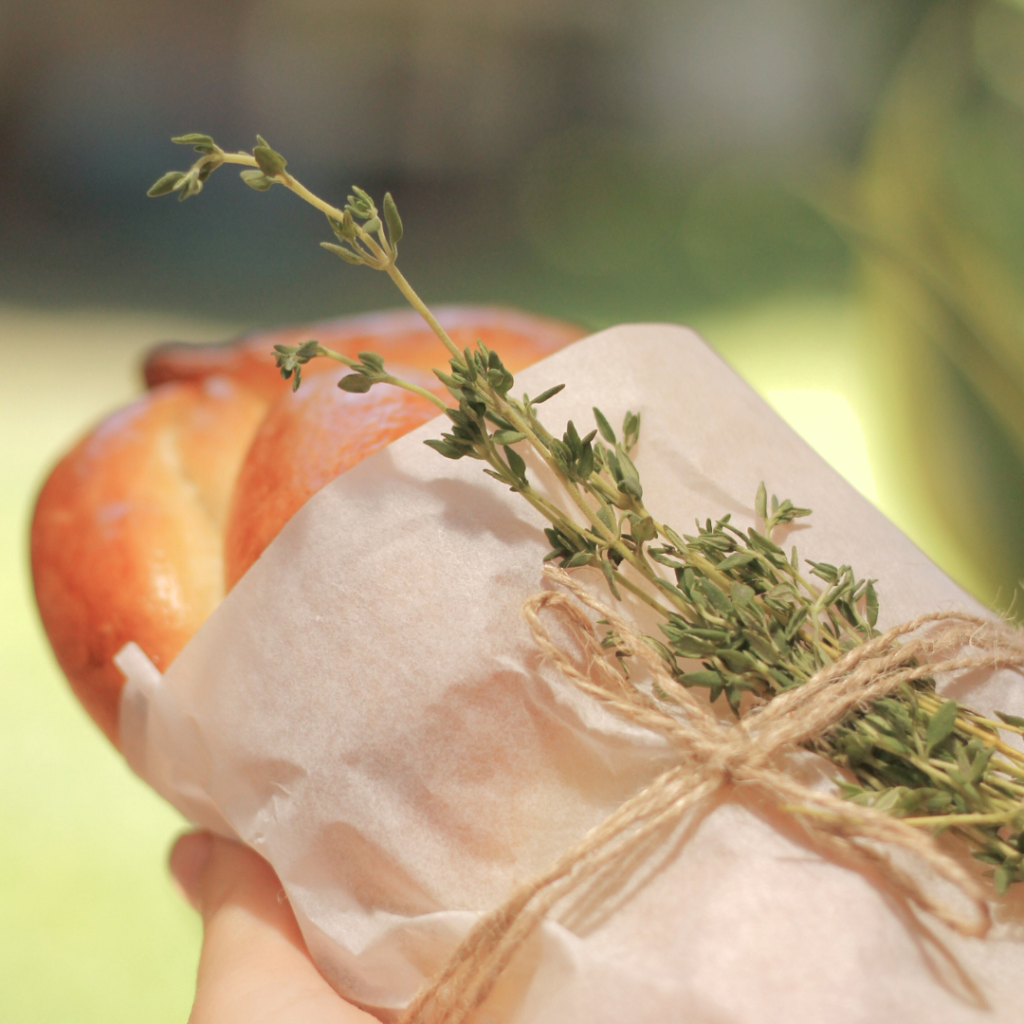
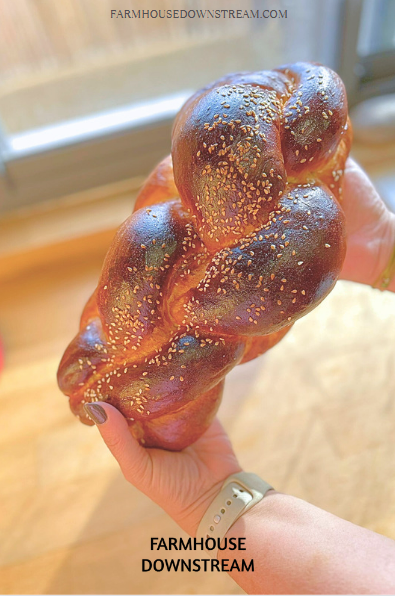
The BEST Challah recipe for fluffiest, softest and perfectly chew
This recipe couldn’t be easier. Add all the ingredients, hand knead or straight to the stand mixer, Allow it to rise, then shape the dough, rise again and bake. Is there anything better than super soft, fluffy, sweet freshly made challah bread?
Equipment
- 1 Mixing Bowl
- 1 measuring cupsKitchen Scale
- 1 plastic wraptea towelbees wax
- 1 Measuring Spoons
- 1 Pastry Brush
- 1 Baking Sheet
- 1 Baking Paper
- 1 Oven
Ingredients
- 8 cups Flour (1 kg)
- 2 tbsp Active Dry Yeast
- 6 tbsp Sugar (add 4-6 tbsp more if you want it to be a sweet challah)
- 0.5 cup Oil
- 1 tbsp salt (10 grams)
- 2- 2.5 cups Water (start by 2 cups and add gradually if needed)
Instructions
STEP 1
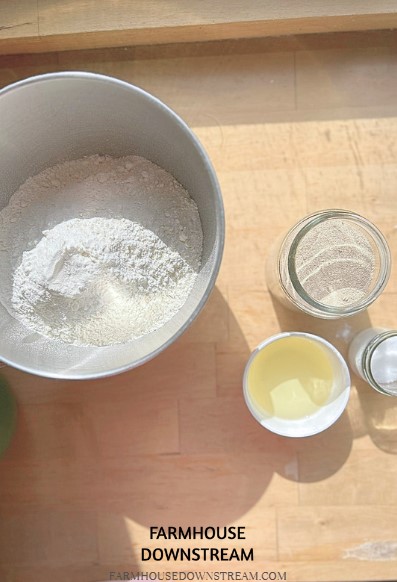
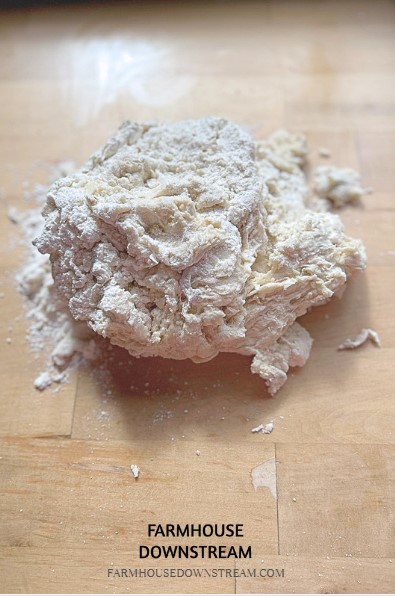
- combine all the ingredients: flour, oil, sugar, salt and water
STEP 2 - MIXING
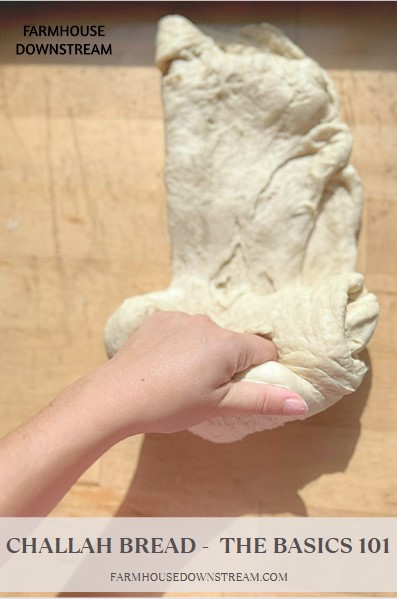
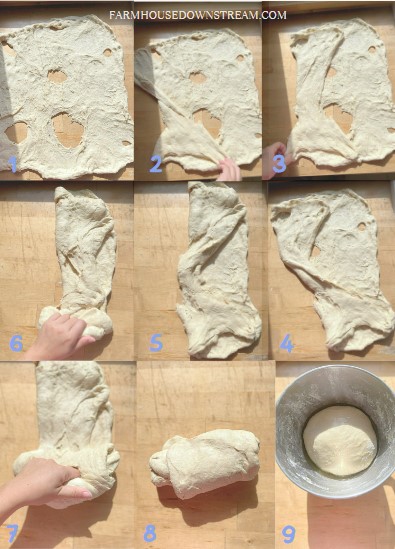
- You can either mix the dough in a stand mixer or by hand, if you want some tips to knead the dough by hand check out my instruction up above.
STEP 3 - FIRST RISE
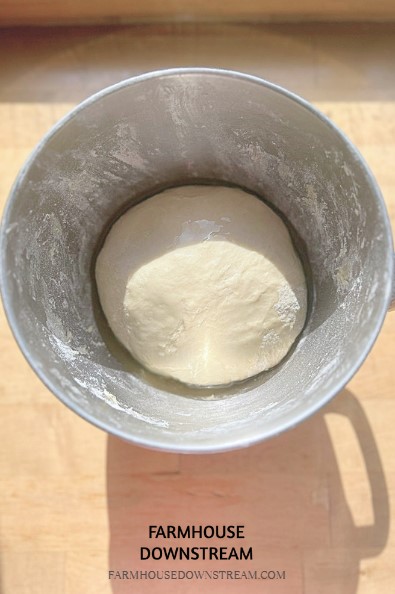
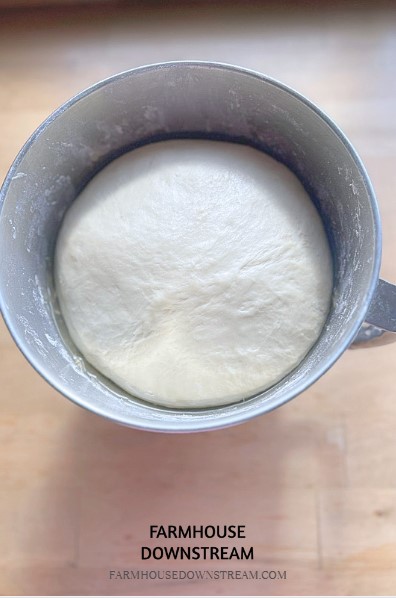
- return the dough to its original bowl, oil the dough and wrap in plastic wrap or a tea towel. let the dough rest and rise for an hour or until doubled in size in a warm place.
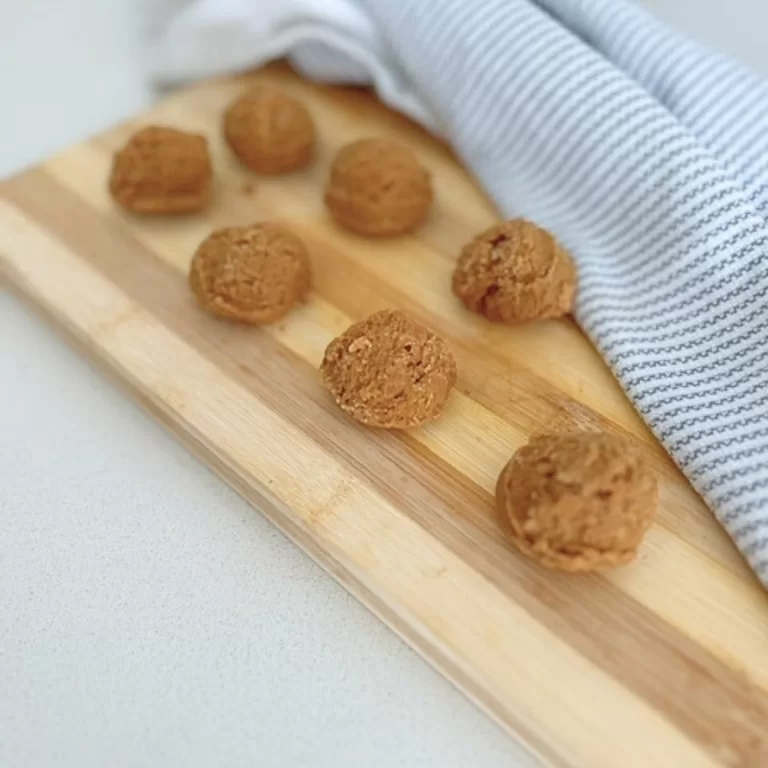
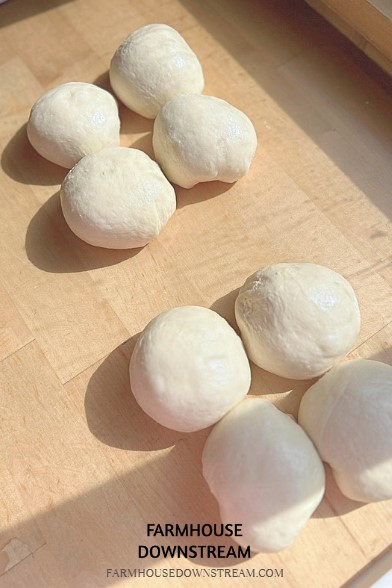
STEP 4 - DIVIDE INTO BALLS
- dived the dough into equal sized balls. this recipe makes two big challahs. you can divide it into 6 equal pieces to make two 3-strand challahs
- or into 8 equal pieces to make two 4-strand challahs. you are the boss of your challah! and let them rest for 10 minutes
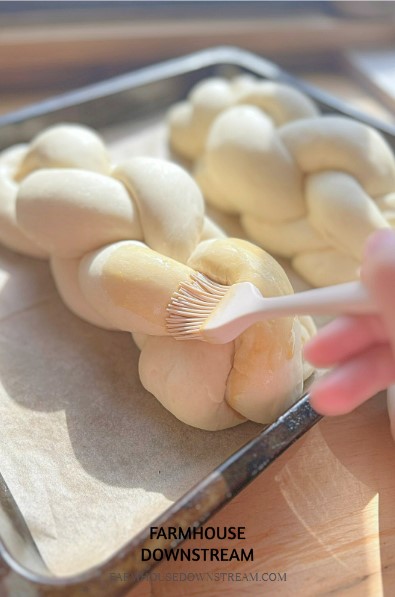
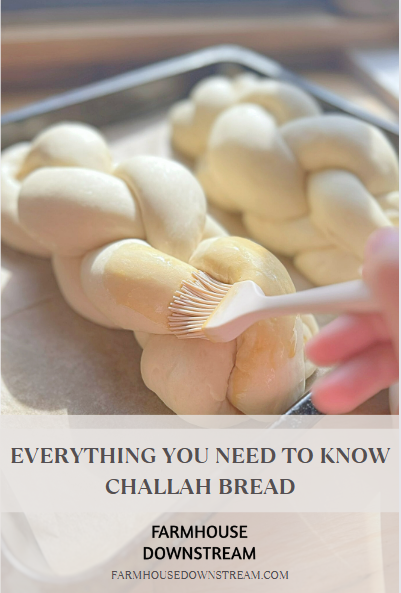
STEP 5 - BRAIDING AND SECOND RISE
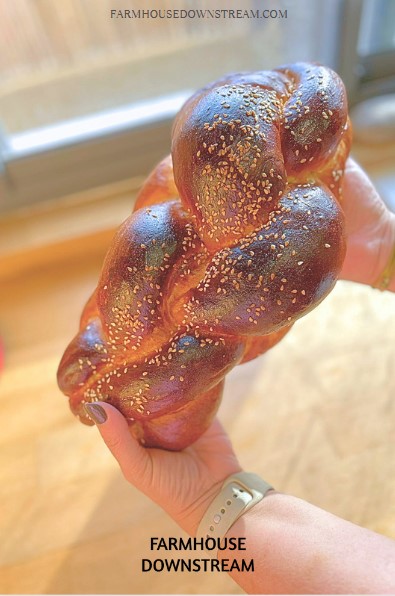
- braid your challah however you choose to. let the dough rise for 25-30 minutes after you finish braiding. Preheat oven to 180C or 350F turbo fan mode.
STEP 6- BRUSHING AND BAKING
- after letting your challah rest for 25-30 minutes. (this step will make sure you have a fluffy challah) you can check it fully risin' if you can make a dent in the dough without it springing back. you can brush it with an egg wash, a pinch of salt, and molasses or date syrup. to make it fully vegan you can omit the egg and add a few tablespoons of water to make the mixture thinner. if desired you can sprinkle sesame seeds on top.
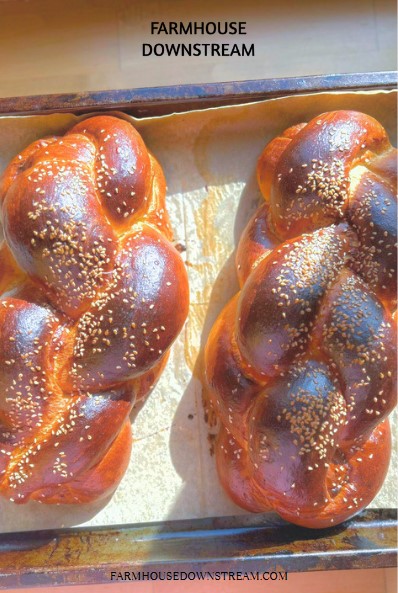
STEP 7 - bake
- bake your challah bread on a baking sheet in the oven for 20-25 minutes until the bottoms are golden brown. and enjoy!