the best quiche you’ll ever have – easy&simple


Welcome! I'm Einav
Greetings! I'm delighted that you discovered my little piece of online paradise. Join me as we relish in the comforts of our home centered lifestyle, living naturally, from-scratch cooking, and establishing a home that's a true reflection of who we are. Let's celebrate the everyday beauty of life together!


Easy French Farmhouse Quiche
my go-to easy dinner when you want to impress, freezable buttery crust with a custardy cheese filling.. A MUST TRY!
Equipment
- 1 bowl
- 1 kitchen scale optional
- 1 tbsp
- 1 fork
- 2 pie crust
- 1 plastic wrap
Ingredients
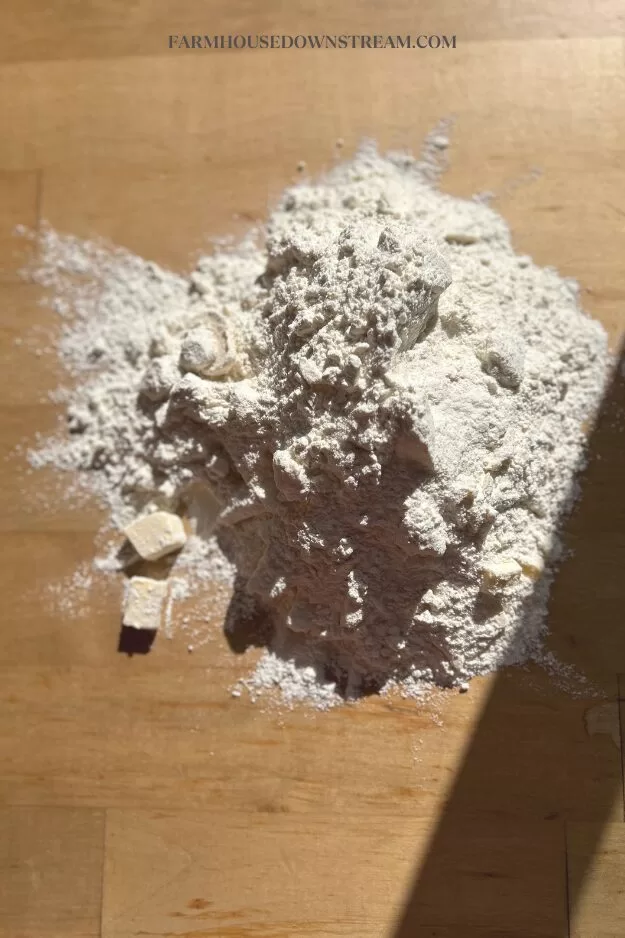
- 0.5 cup cold cubed butter 120 grams
- 1.5 cups all purpose flour 180 grams
- 2 tsp salt 14 grams
- 4-8 tbsp ice water
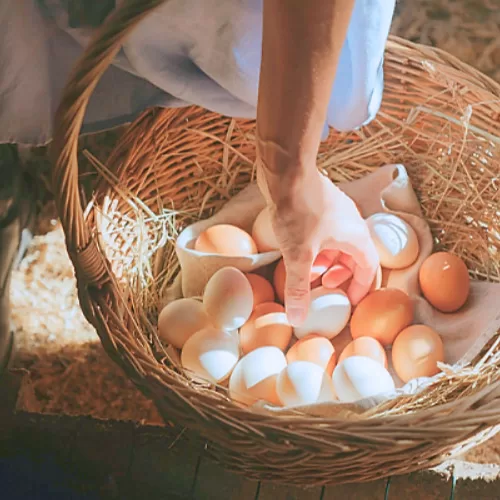
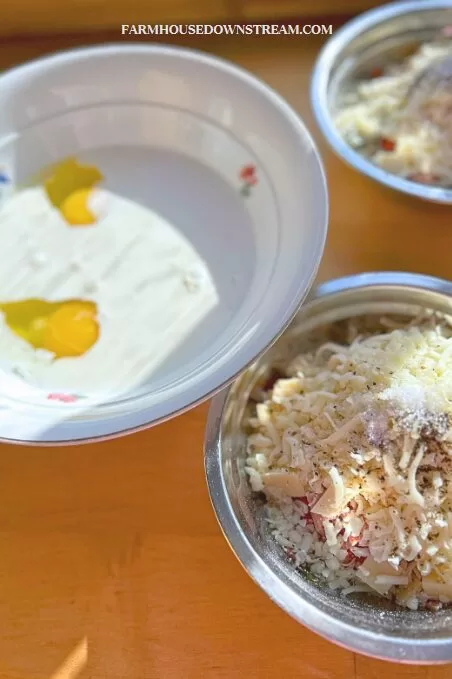
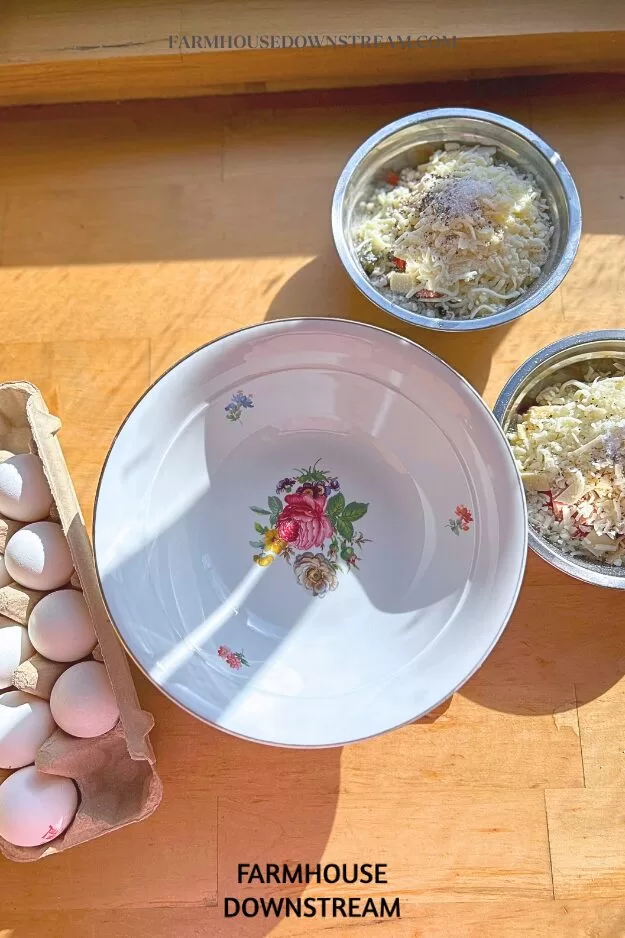
- 6 eggs
- 1 cup heavy cream 250grams/250ml
- your choice of seasoning for the filling
- 0.5 cup your choice of vegetables
- 1.5 cups cheddar cheese 150 grams
- 0.5 cup diced cold cut meat of choice
Instructions
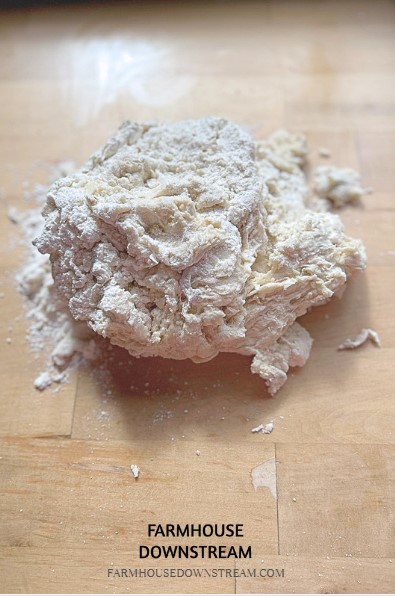
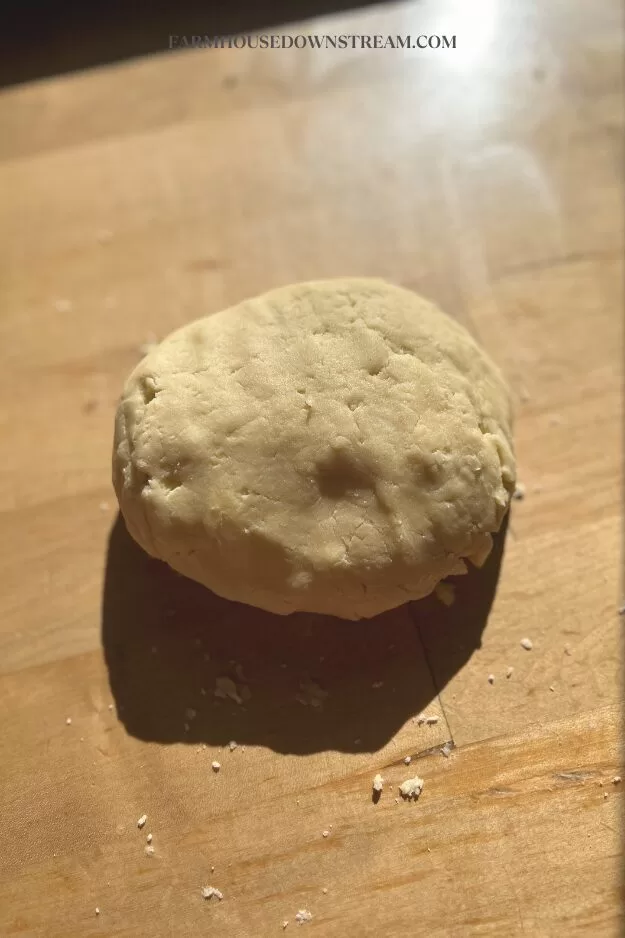
- mix cold butter with flour until butter pieces are pea-sized. add salt and ice water until incorporated into ball
- divided dough in half and chill in fridge for 30 min
- make filling: mix all the ingredients and season to your liking
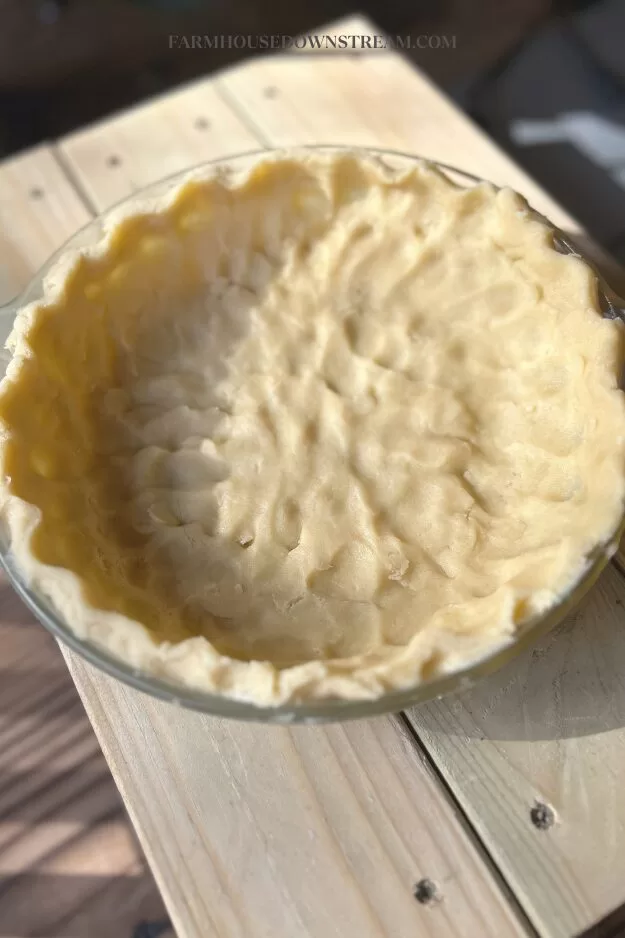
- mold dough into pie crust, make sure to poke holes with fork
- par-bake the dough for 15 minutes at 340F 170C
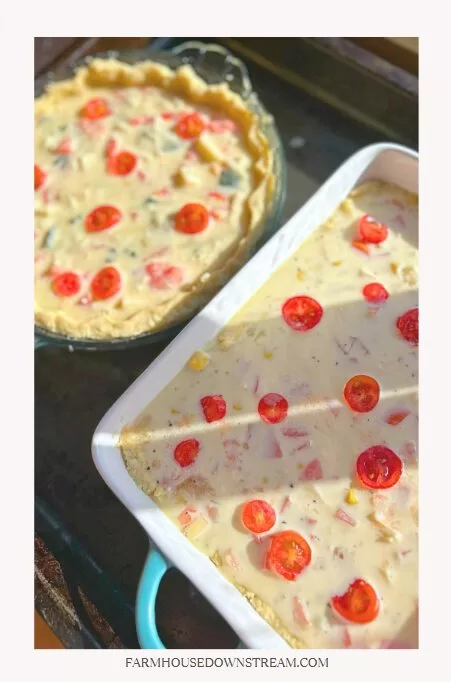
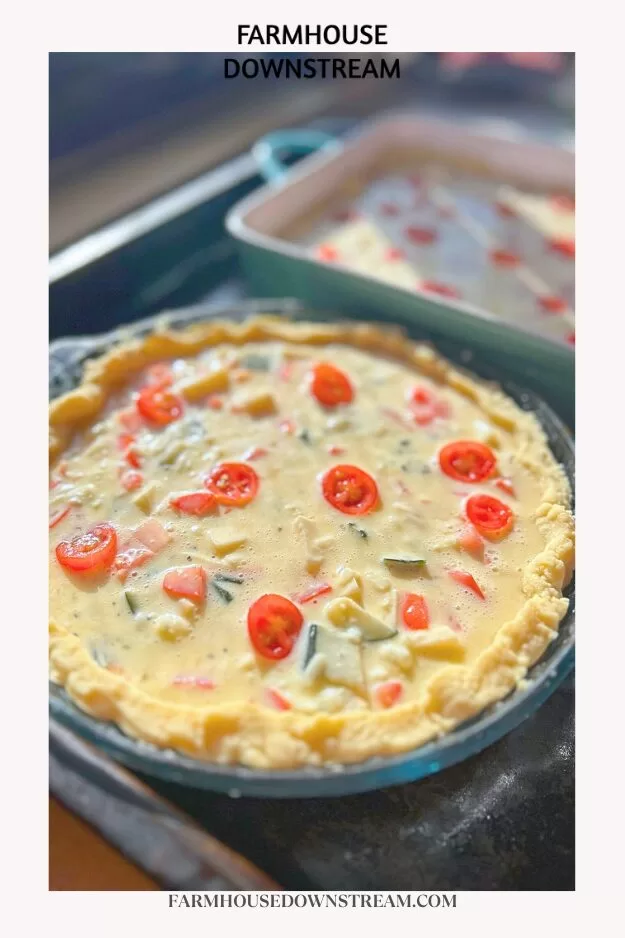
- add the mixed filling to the pie crusts
- bake for an additional 60 minutes until golden and cooked all the way through, if too brown before not cooked all the way add foil at the top to stop the browning


the best quiche you’ll ever have – easy&simple Read More »