Sharing is caring!
Ah, the memories flood back as I think about this Challah Bread recipe. It truly is the best you can find.
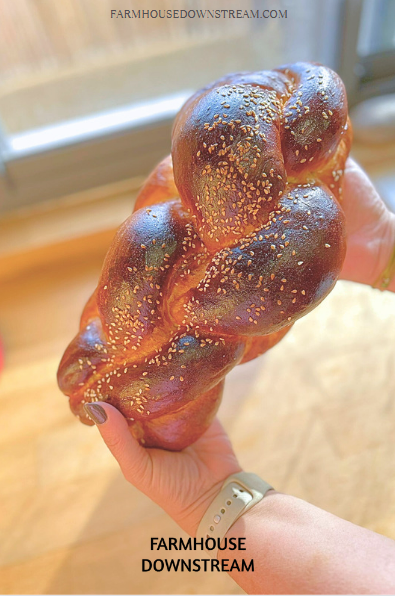
I can hardly count the number of times I’ve made this bread in my lifetime.
At one point, I even had a small business in the pandemic where I spent my Thursday nights baking more than fifty mini challahs in my small kitchen.
The aroma of the bread baking in the oven, the softness of the dough under my hands, and the joy of sharing this cherished tradition with others will always hold a special place in my heart.
I find myself transported back generations every time I make this bread, reliving sweet moments of the past.

Welcome! I'm Einav
Greetings! I'm delighted that you discovered my little piece of online paradise. Join me as we relish in the comforts of our home centered lifestyle. I'm enthusiastic about living naturally, from scratch cooking, and establishing a home that's a true reflection of who we are, as Individuals and as a family. Let's celebrate the everyday beauty of life as we share our experiences together!
Why you will love this recipe:
Simple: This recipe couldn’t be easier. Add all the ingredients, hand knead or straight to the stand mixer, Allow it to rise, then shape the dough, rise again and bake.
Super delicious: Is there anything better than super soft, fluffy, sweet freshly made challah bread?
Perfect for weekend breakfast, lunch, and dinner: This recipe makes the best sweet and soft bread to accompany any weekend feast, its beautiful shape is always a crowd-pleaser and devoured in minutes. it’s special for sandwiches or to eat with soup. Yum!
what is challah bread?
Challah bread is an important part of Jewish culture and tradition. People love it because of its nostalgic and beautiful shape and yummy taste.
It is often eaten on Shabbat, a day of rest. It is also eaten on holidays and during special times when people come together.
There are many customs related to making challah bread. Each type of challah is special in its own way. Challah bread is also meaningful because it represents important ideas.
People have many questions about it, so we will explore its history and importance in this article and most importantly my fool-proof vegan challah recipe.
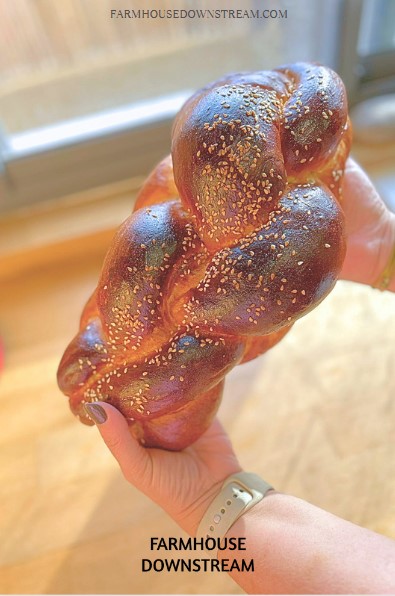
Challah Shapes that Represent Meaningful Symbolism
Challah is more than just a delicious bread, it’s a representation of tradition and continuity. When we explore the different shapes that challah can take, we discover a rich tapestry of symbolic meaning that has been woven into Jewish history.
CIRCLE SHAPED CHALLAH
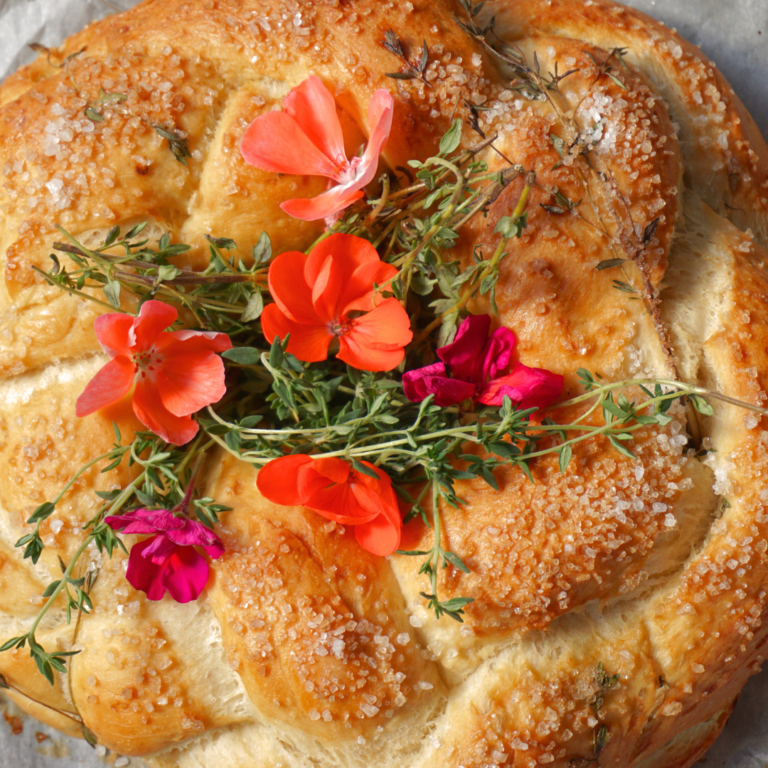
As we celebrate Rosh Hashanah, the circular or “donut” shaped challah represents not only the changing seasons but also the cyclical passing of time. Each year, this bread reminds us of the past and encourages us to strive for upward progress in the future.
KEY SHAPED CHALLAH
The key-shaped challah, usually eaten on the Friday after Passover, is another symbol of hope for a good livelihood.
This custom is based on the belief that all sustenance comes from God, and eating a challah in the shape of a key is an act of faith and gratitude for the abundance we have been given.
Let us always remember the meaningful symbolism behind every shape of challah we bake or eat, as it connects us to our past and inspires hope for the future.
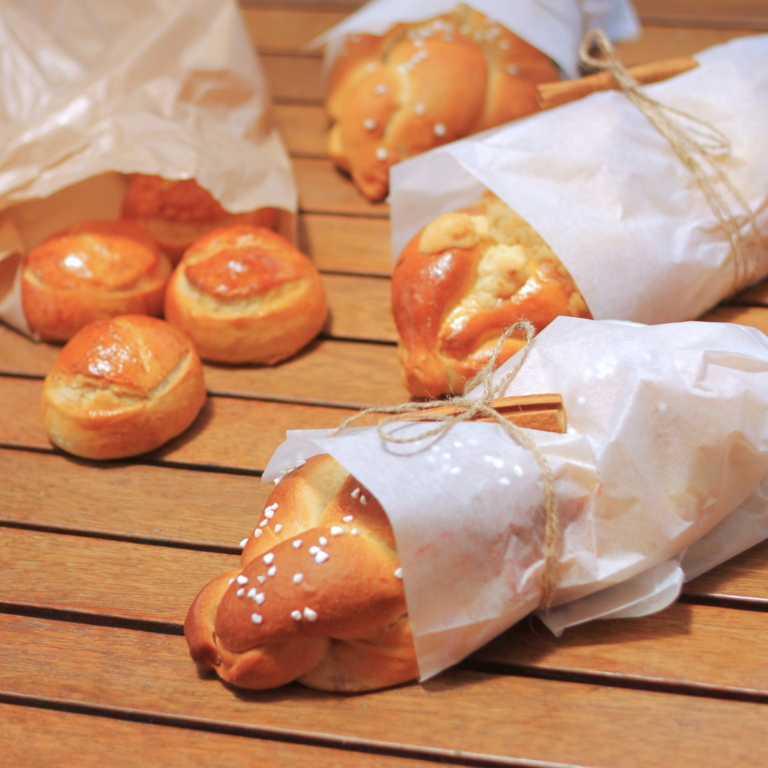
why is challah vegan?
Vegan Challah bread recipes and has a long history.
the first recorded mention of Challah as the sabbath bread was made in 1488 and over time people changed the recipe to make it simpler.
Some people had limited resources and replaced eggs and milk with just water, yeast, salt, and flour.
Even though other recipes with ingredients like milk, honey, and eggs are available, many people still prefer this simple, vegan recipe.
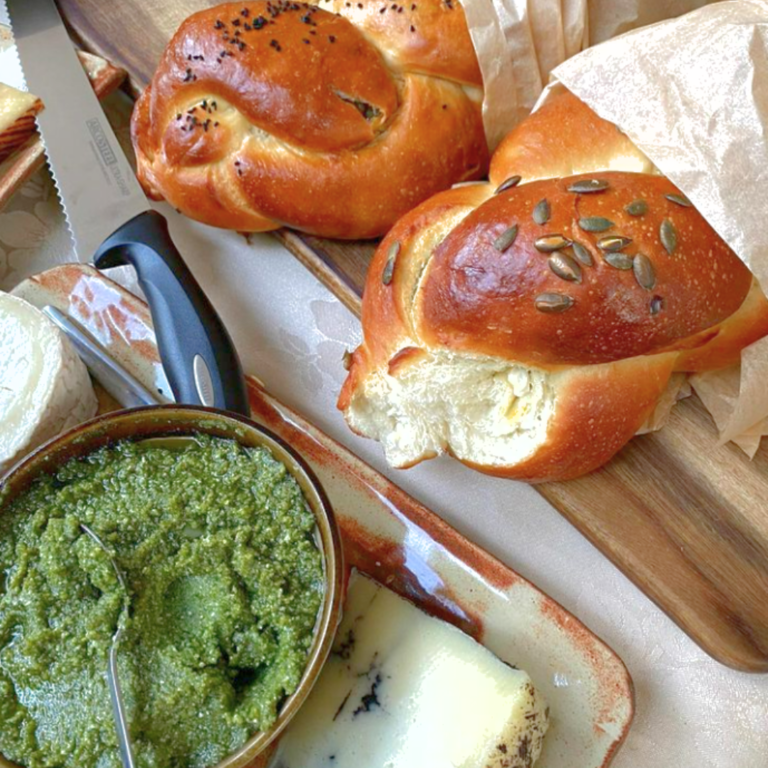
Ingredients list:
- flour – All Purpose Flour is perfect for this recipe
- active dry yeast
- salt – fine salt
- sugar – any type of sugar you like
- water
TOOLS YOU WILL NEED:
measuring cups
measuring spoons
plastic wrap\tea towel\bees wax
pastry brush
baking sheet
baking paper
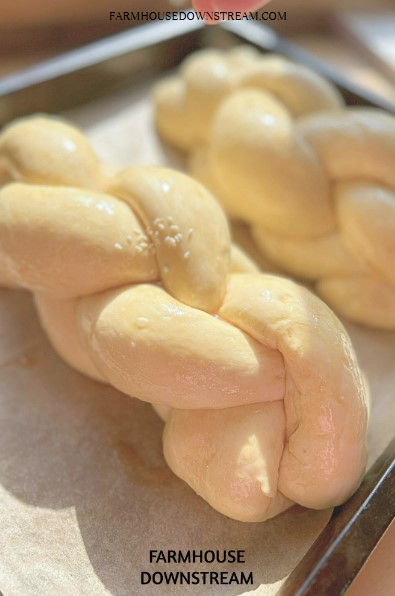
Make it your own! – Versatility
Harking back to times immemorial, people have known the importance of versatile recipes – those that offer flexibility and allow the cook to experiment with different ingredients. And this recipe for challah bread seems to fit that bill perfectly!
It is so versatile that you can add anything you want to it with confidence. You can customize it to your liking, incorporating your favorite ingredients; believe us, your options are limitless!
CINNAMON RAISIN CHALLAH BREAD RECIPE
With a few tablespoons of cinnamon and raisins, you can conjure up a mouth-watering cinnamon-raisin challah recipe,
CHOCOLATE CHIP CHALLAH RECIPE
add 1\4 cup chocolate chips to your dough when kneading to make some beautiful and sweet chocolate chip challah recipe.
HOW TO MAKE MINI CHALLAH
if you’re in the mood to make mini-challahs, this recipe can easily accommodate your needs. It’s like having a blank canvas upon which you can paint your culinary picture as vividly as you desire!
This recipe yields two large loaves of challah bread, but with confidence, you can turn it into 8-12 mini challahs by merely lowering the oven temperature to 150C or 300F. let your imaginations run wild and experiment with your favorite ingredients without any hesitation!
this truly is a 5-star challah bread recipe
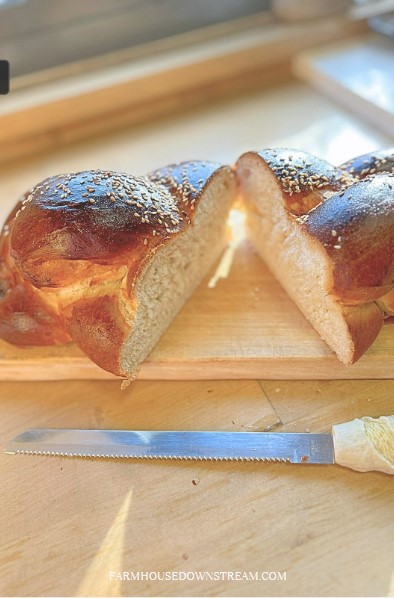
Sweetening your challah – Enhancing the flavor
If you’re looking to take your challah game to the next level, consider sweetening the dough to enhance the flavor. This simple suggestion can make a huge difference in the taste and texture of your bread.
Adding the few tablespoons of sugar that are in the recipe really make a big impact, but if you really want to indulge in a sweeter taste, don’t be afraid to add in extra sugar – around 4-6 tablespoons should do the trick. Don’t worry about going overboard, either – trust your taste buds and you’ll be rewarded with a delicious outcome.
Whether you’re a seasoned baker or just starting out, trying out different variations of this classic recipe is a fun way to experiment with different flavors and textures. So why not give it a try? You might just discover your new favorite way to prepare challah.
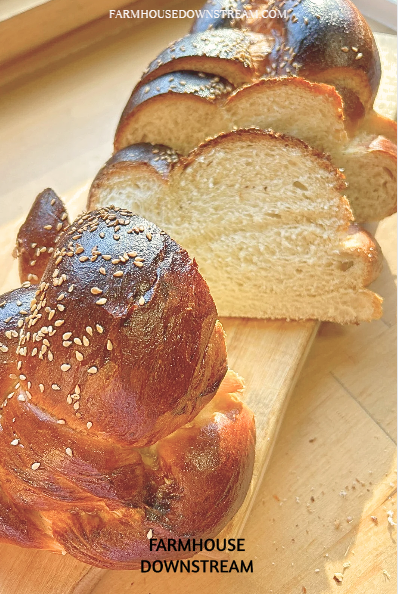
HOW TO MAKE THE BEST challach without a mixer
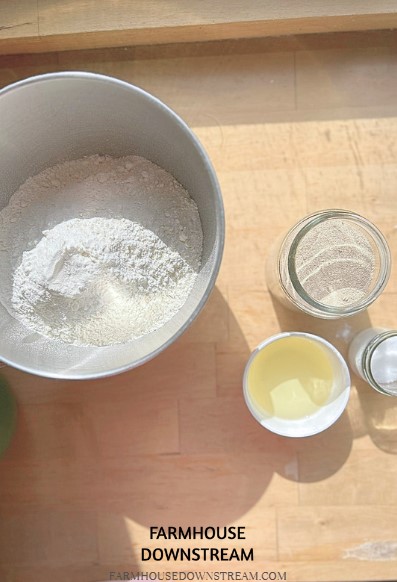
STEP 1
combine all the ingredients in a big bowl: flour, oil, sugar, salt and water
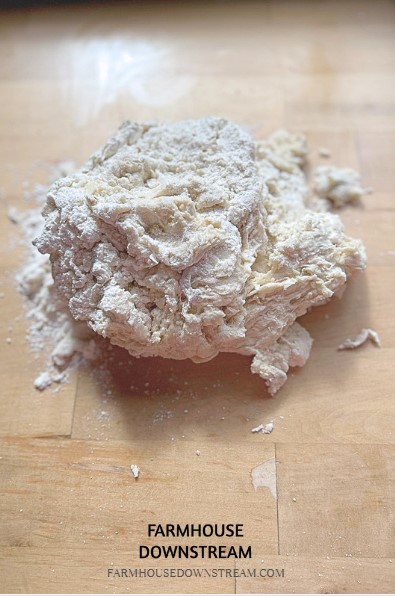
STEP 2 – MIXING
Start mixing the ingredients by hand.
Once you feel that the wet ingredients are somewhat incorporated, you can dump them on your working bench.
Believe me, it will make the process so much easier and enjoyable.
STEP 3 – KNEADING
Now let’s knead the dough! This is where the fun begins!
Try to work the dough until it feels smooth and well-mixed.
Don’t worry if it takes some time, just enjoy the process and remember that practice makes perfect!

STEP 4 – NO MIXER KNEADING
If you want to make your dough smoother and softer without using a mixer, you’ll need to knead it for a little longer.
Kneading causes the gluten strands to get stronger and longer, but don’t worry, I can guide you through the process.
Remember, too much gluten can make the bread tough and chewy, so we’ll want to relax the dough for a bit alternating between kneading regularly and doing this method.
This will reduce the elasticity of the dough and make it easier to roll out. If you need further assistance, check out my step-by-step kneading tutorial below!
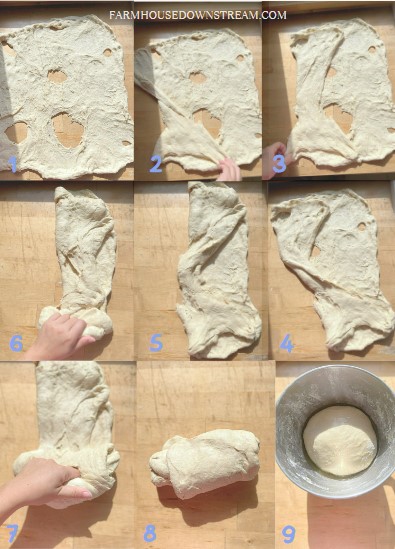
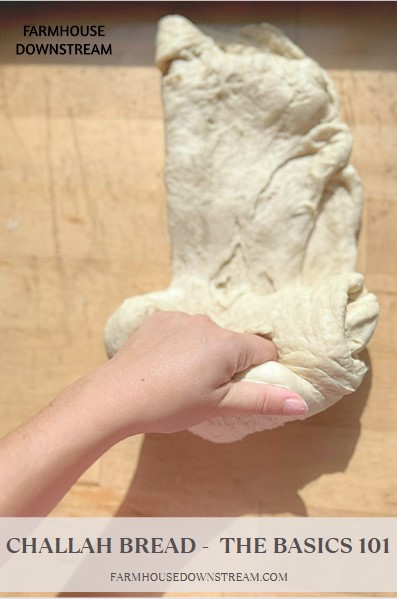
Let’s get started by opening up the dough and gently stretching its gluten.
Then fold it into thirds and roll it back into a tight ball.
Repeat this process 4-5 times, alternating between kneading and stretching.
This technique will make your kneading process faster and more effective.
STEP 5 – FIRST RISE
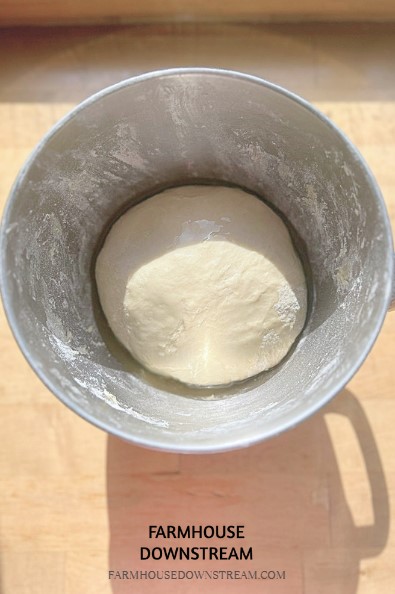
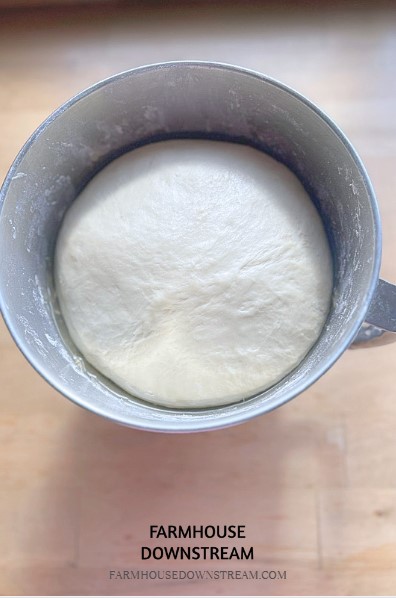
Now return the dough to its original bowl,
oil the dough Cover it with a tea towel and put it in a warm place for about an hour or until doubled in size.
it will look like the right picture below.
if you wish you can stretch this step longer and slowly rise it in the fridge overnight.
STEP 6 – DIVIDE INTO BALLS
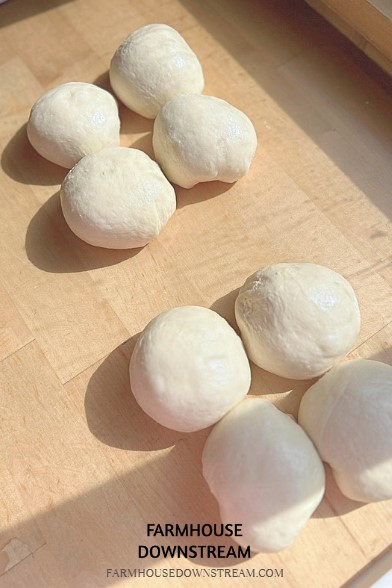
Divide the dough into balls. this recipe makes two big challahs.
you can divide it into 6 equal pieces to make two 3-strand challahs
or into 8 equal pieces to make two 4-strand challahs. you are the boss of your challah!
and let them rest for 10 minutes
STEP 7 – BRAIDING AND SECOND RAISE
braid your challah however you choose to.
here I’m demonstrating you can achieve a four-strand challah.
let the dough rise for 25-30 minutes after you finish braiding.
Preheat oven to 180C or 350F turbo fan mode.
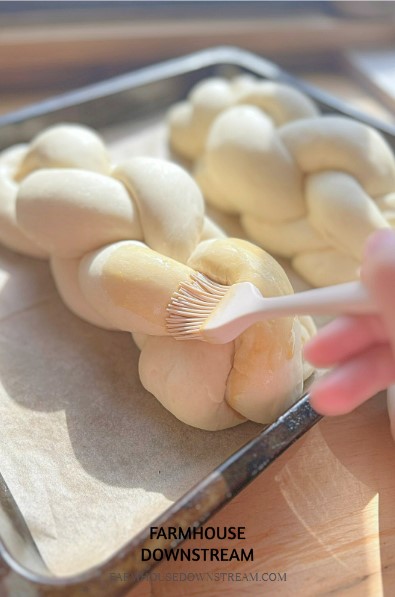
STEP 8 – BRUSHING AND BAKING
after letting your challah rest for 25-30 minutes.
(this step will make sure you have a fluffy challah)
you can check it fully risin’ if you can make a dent in the dough without it springing back.
you can brush it with an egg wash, a pinch of salt, and molasses or date syrup.
to make it fully vegan you can omit the egg and add a few tablespoons of water to make the mixture thinner.
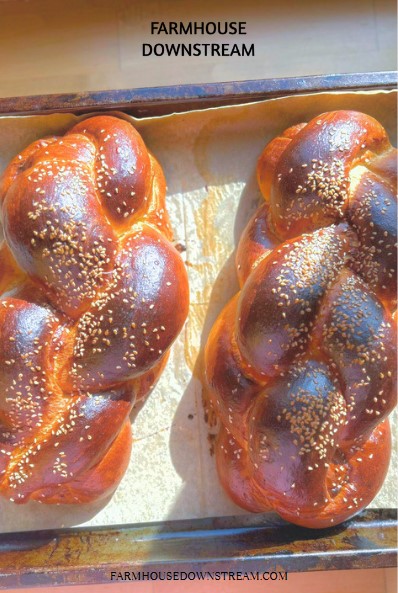
if desired you can sprinkle sesame seeds on top.
STEP 9 – BAKE
bake your challah bread on a baking sheet in the oven for 20-25 minutes until the bottoms are golden brown. and enjoy!
To Make your life easier I’ve calculated two baker’s schedules: one overnight, and one for the same day.
Baker’s Schedule Friday Night Challah:
9 AM: mix ingredients and knead dough as shown here to reach the perfect gluten development
9:30 AM: Start First Rise
10:30 AM: Divide and shape 6\8 equal balls. Let rest 10 minutes
10:40 AM: Braid your dough into two big Challah Bread.
10:50 AM: Let rest 25-30 minutes until puffy and beautiful
11:15 AM: Bake at 180C or 350F for 20-25 minutes
Baker’s Schedule overnight Challah:
10 PM: mix ingredients and knead dough as shown here to reach the perfect gluten development
10:30 PM: Start First rise in the fridge
8 AM the next day: Take the dough out of the fridge and divide it into 6 or 8 equal balls. let rest and come to room temperate for around 30-40 minutes.
8:30 AM: Braid your dough into two big Challah breads. if the dough is still cold let it sit for a while longer
8:40 AM: Let rest 25-30 minutes until puffy and beautiful
9:10 AM: Bake at 180C or 350F for 20-25 minutes and allow to cool before serving.
Storage:
Store in an air-tight container. Use within 2-3 days for best results. Or freeze for up to 4 months.
Freezing:
the best way to freeze Challah bread is after the bread is fully baked and cooled.
you can easily wrap your loaves in plastic wrap and store them in the freeze for up to 4 months.
but this is one of those recipes that will be prefect when dry for french toast on Sunday morning.
My Personal Challah Tradition
I probably made hundreds of Challahs in my life, some didn’t rise enough, and some rose too much. but they were always so impressive and oh-so delicious. challah is just the perfect bread. light and airy.
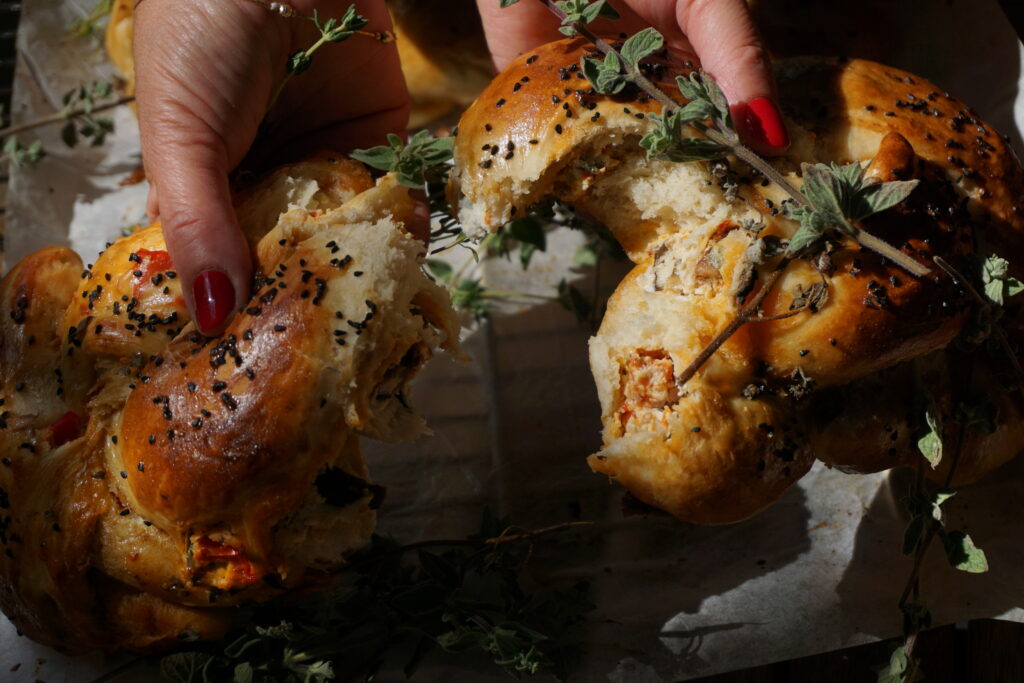
In my family when blessing on the challah in Friday dinner we take one loaf and “pull” the challah in half, say the blessing, and dip smaller pieces of bread in a small bowl of salt and pass them around until everyone has a piece.
It’s a beautiful tradition and we look forward to eating challah every week.
we usually make two challahs a weekend because we don’t keep Shabbat and can cook through the weekend but more religious families will make more so they will have bread to accompany each of the meals from Friday dinner up to Sunday morning

FAQ:
frequently asked questions and answers:
why is my challah not fluffy?
if you’d like your challah to turn out perfectly fluffy, there are three very important steps that you’ll want to keep in mind.
And let me tell you, these are practically the secrets to success when it comes to baking challah.
1. To start with, you’ll want to ensure that your yeast is fresh and still full of life. So, test it with some sugar to see whether it’s still alive before you begin.
2. Next up is the proofing stage, which is something that needs to be done slowly and patiently.
For best results, simply allow your dough to proof until it has doubled in size. If your room is on the cooler side, this might take a bit longer than expected.
3. Finally, bake the challah in turbo mode in your oven! You won’t be disappointed with the fantastic outcome that you achieve.
what is the best flour for challah bread?
when it comes to the best flour to use for your challah, there are a multitude of opinions out there.
professionals swear by using bread flour but I believe all-purpose will work just as well.
However, the great news is that you can kind of take your pick here.
Whatever flour you happen to have on hand will work great, so there’s no need to fret about hunting down an elusive specialty flour.
can you overproof your challah?
it is possible to accidentally overproof your dough, but have no fear.
Even if that happens, you’ll still end up with some tasty challah to enjoy.
And if you need to get things done in a hurry, I suggest giving the fridge a try for proofing your dough.
why is my challah not rising?
One final thing to address is what to do if your challah isn’t rising as it should be.
If it’s not rising at all, your yeast may be past its prime and you should get a new package.
On the other hand, if it’s only partially risen, give it some more time and be patient.
how do you make your challah golden brown?
the trick it to brush it with an egg wash mixed with a pinch of salt (it breaks down the egg) and a tablespoon of molasses or date syrup making your challah bread have a sweet and brown crust.
if you want to make it vegan all the way you can mix a few tablespoons of date syrup or molasses with a bit of salt and warm\boiling water for easier mixing. mix it well!
I hope that you found this information to be helpful and that you enjoy making some absolutely delicious challah.
If you try this recipe and love it, I would love if you could come back and give it 5 stars!

The BEST Challah recipe for fluffiest, softest and perfectly chew
Equipment
- 1 Mixing Bowl
- 1 measuring cupsKitchen Scale
- 1 plastic wraptea towelbees wax
- 1 Measuring Spoons
- 1 Pastry Brush
- 1 Baking Sheet
- 1 Baking Paper
- 1 Oven
Ingredients
- 8 cups Flour (1 kg)
- 2 tbsp Active Dry Yeast
- 6 tbsp Sugar (add 4-6 tbsp more if you want it to be a sweet challah)
- 0.5 cup Oil
- 1 tbsp salt (10 grams)
- 2- 2.5 cups Water (start by 2 cups and add gradually if needed)
Instructions
STEP 1
- combine all the ingredients: flour, oil, sugar, salt and water
STEP 2 - MIXING
- You can either mix the dough in a stand mixer or by hand, if you want some tips to knead the dough by hand check out my instruction up above.
STEP 3 - FIRST RISE
- return the dough to its original bowl, oil the dough and wrap in plastic wrap or a tea towel. let the dough rest and rise for an hour or until doubled in size in a warm place.
STEP 4 - DIVIDE INTO BALLS
- dived the dough into equal sized balls. this recipe makes two big challahs. you can divide it into 6 equal pieces to make two 3-strand challahs
- or into 8 equal pieces to make two 4-strand challahs. you are the boss of your challah! and let them rest for 10 minutes
STEP 5 - BRAIDING AND SECOND RISE
- braid your challah however you choose to. let the dough rise for 25-30 minutes after you finish braiding. Preheat oven to 180C or 350F turbo fan mode.
STEP 6- BRUSHING AND BAKING
- after letting your challah rest for 25-30 minutes. (this step will make sure you have a fluffy challah) you can check it fully risin' if you can make a dent in the dough without it springing back. you can brush it with an egg wash, a pinch of salt, and molasses or date syrup. to make it fully vegan you can omit the egg and add a few tablespoons of water to make the mixture thinner. if desired you can sprinkle sesame seeds on top.
STEP 7 - bake
- bake your challah bread on a baking sheet in the oven for 20-25 minutes until the bottoms are golden brown. and enjoy!
Find More Delicious Meal Ideas Straight From The Farmhouse Downstream Kitchen:

