lemon with honey turned cake! must try new recipe


Welcome! I'm Einav
Greetings! I'm delighted that you discovered my little piece of online paradise. Join me as we relish in the comforts of our home centered lifestyle, living naturally, from-scratch cooking, and establishing a home that's a true reflection of who we are. Let's celebrate the everyday beauty of life together!

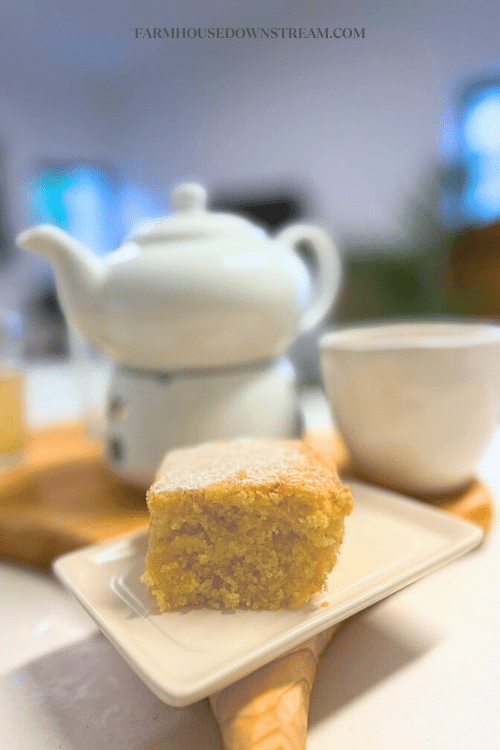
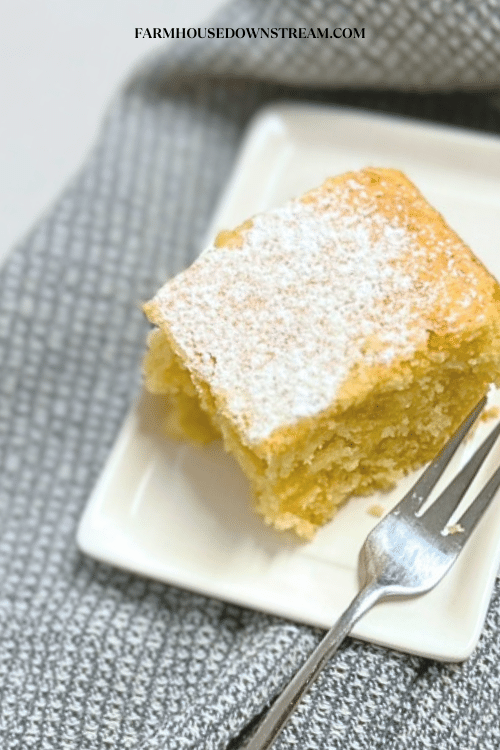
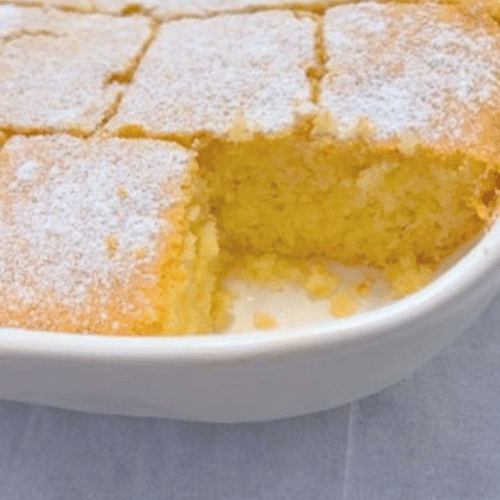
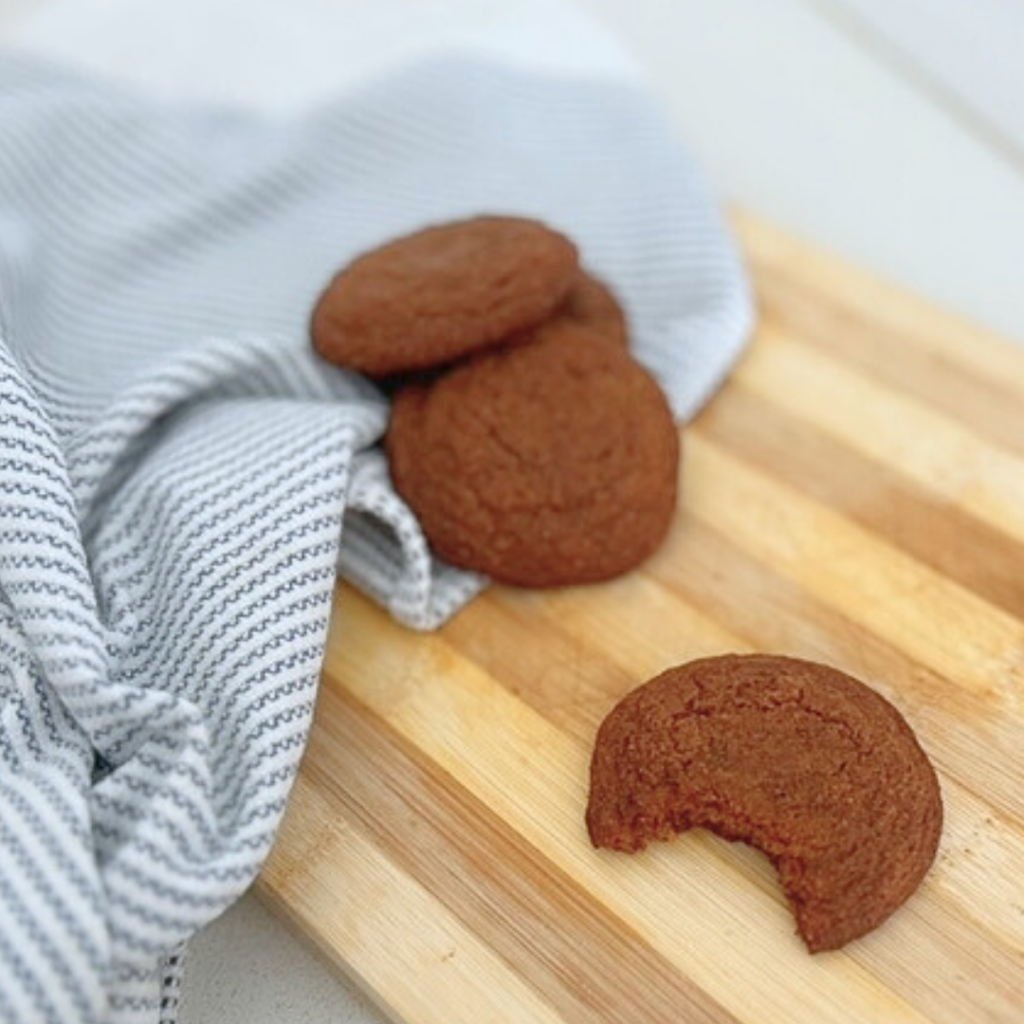
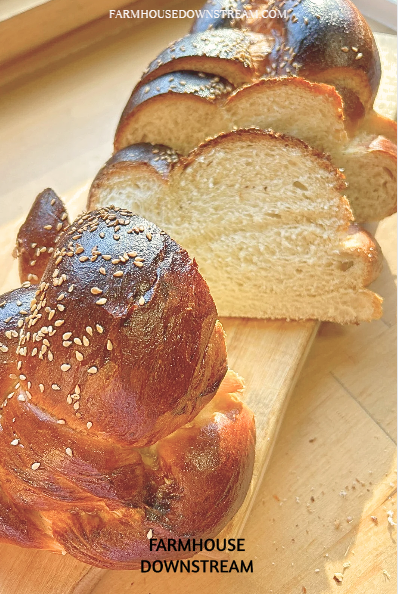
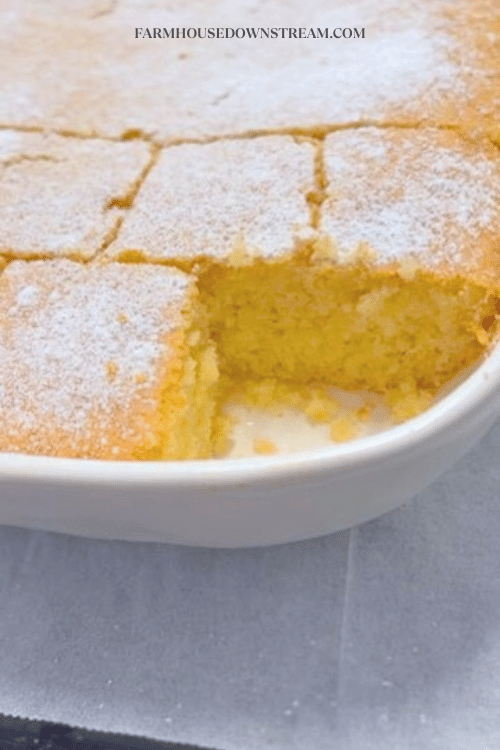
Lemon and Honey cake
lemon and Honey is a favorite combination we love! This moist and delicious cake has a fresh pop of lemon flavour but is also very hearty and elegant. perfect for any season and loves by all!
Ingredients
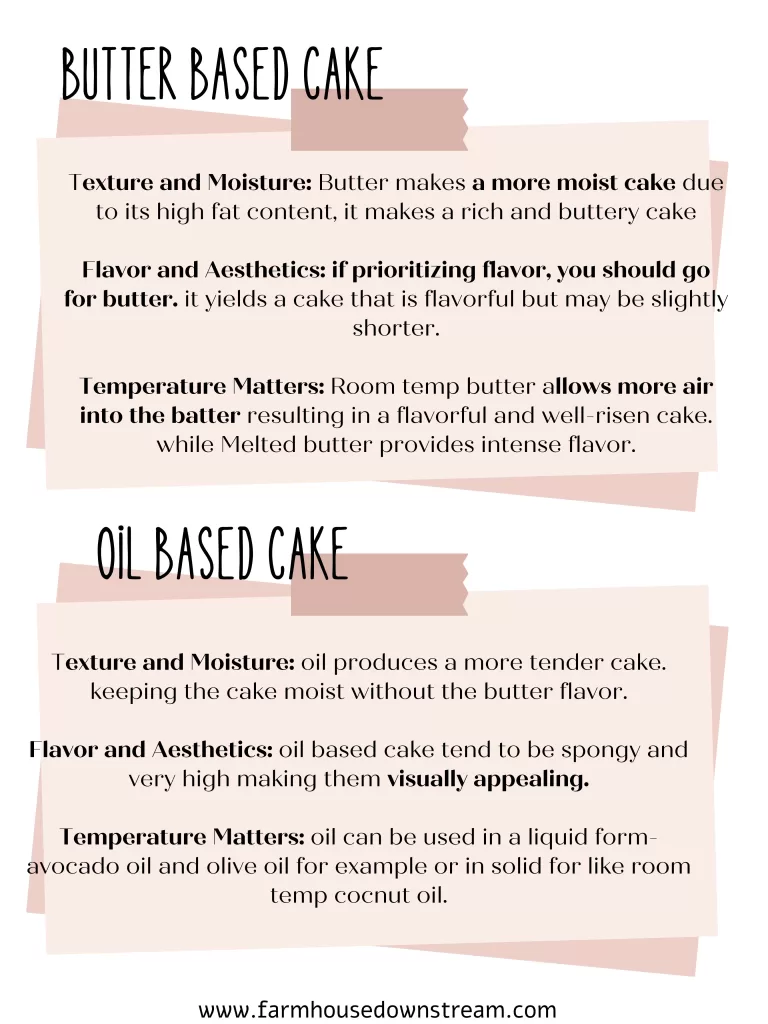
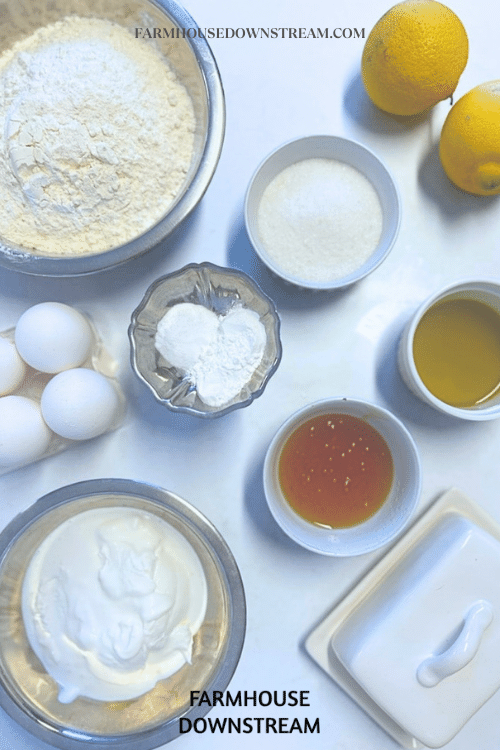
- 200 grams butter 7/8 cup
- 70 grams honey 1/4 cup
- 1 tbsp vanilla extract
- 5 tbsp oil (i used olive oil)
- 4 medium eggs
- 2 lemon (zest and juice)
- 200 grams cream cheese 1 cup
- 420 grams flour
- 2 tsp baking powder
- 1 tsp baking soda
Instructions
Step 1
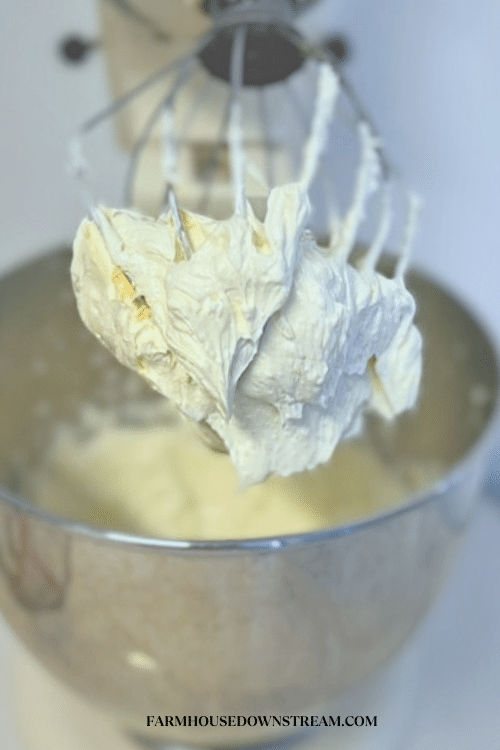
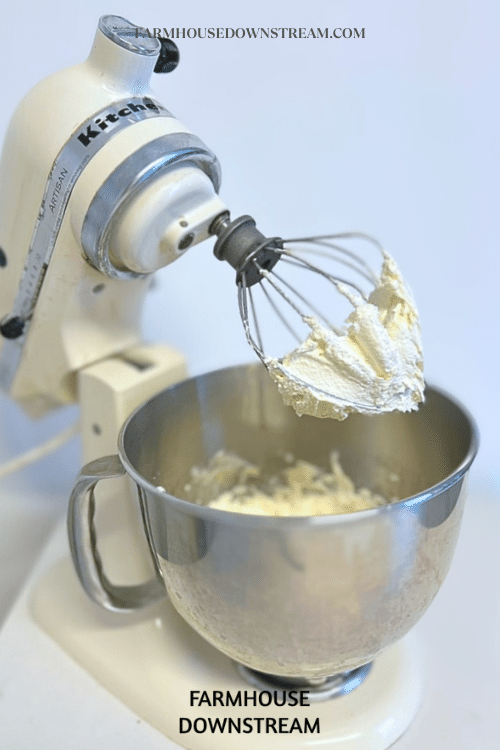
- Start by mixing the room temperature butter with a balloon whisk, you can do this step by hand but it will need arm strength
Step 2
- Gradually add the sugar and honey, scraping the sides of the bowl keeping the mixture light and airy
Step 3
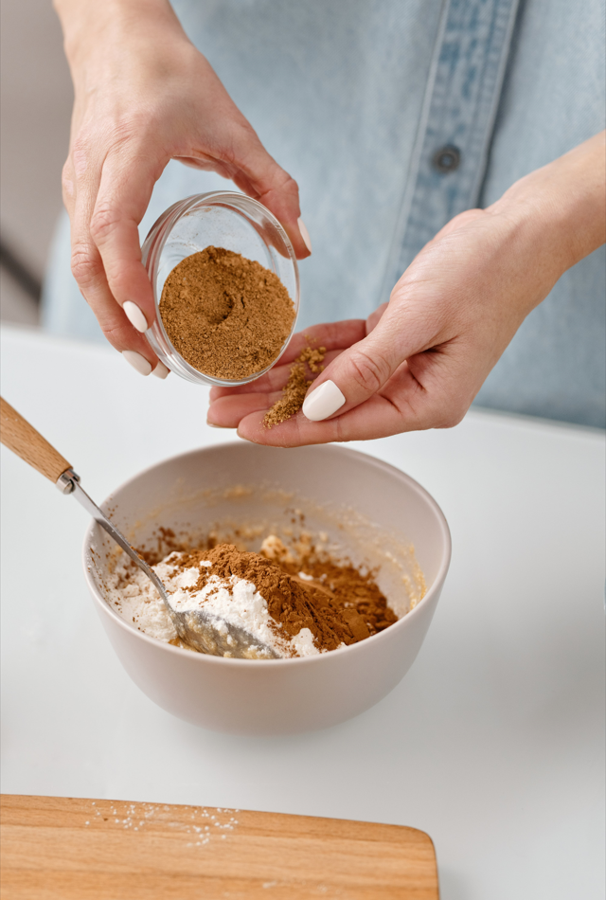
- Add a pinch of salt, vanilla extract and lemon zest and lemon juice and mix until completely incorporated and airy
Step 4
- Add the eggs one by one while mixing making sure between each addition the egg is fully incorporated
Step 5
- Add the room temperature cream cheese and mix well still with the mixture
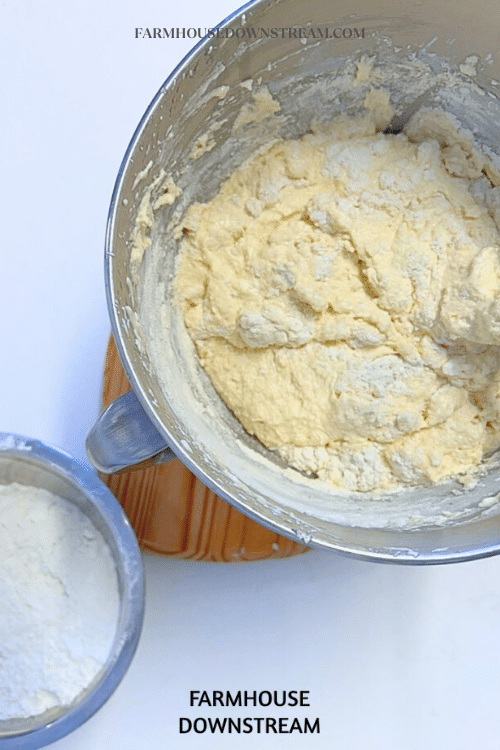
Step 6
- By hand, mix in the flour, baking powder and baking soda slowly and carefully making sure there are no clumps of flour left but that you don’t beat all the air out
Step 7
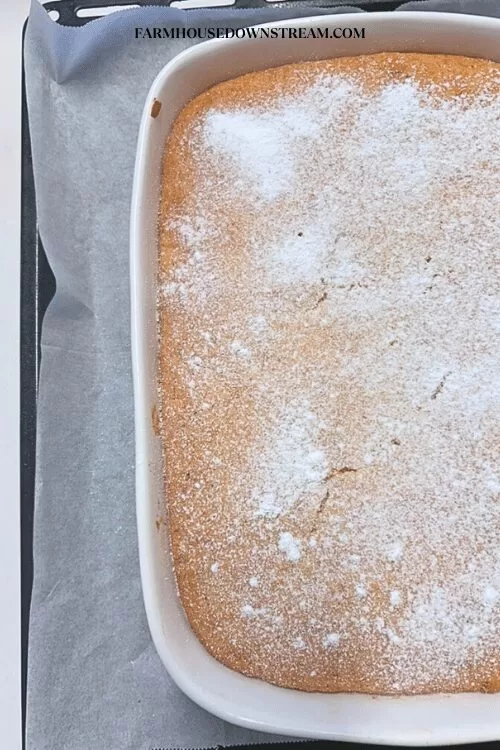
- Bake at 170c or 340f for 50-60 minutes to s until and toothpick comes out clean with a few light crumbs not doughy/creamy
Step 8
- Let cool, serve with a sprinkle of powdered sugar


lemon with honey turned cake! must try new recipe Read More »