Stay At Home Wife (NO KIDS) – Daily Routine HOW TO


Welcome! I'm Einav
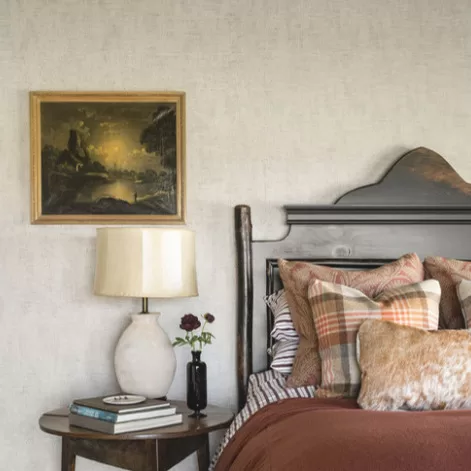
Greetings! I'm delighted that you discovered my little piece of online paradise. Join me as we relish in the comforts of our home centered lifestyle, living naturally, from-scratch cooking, and establishing a home that's a true reflection of who we are. Let's celebrate the everyday beauty of life together!


Stay At Home Wife (NO KIDS) – Daily Routine HOW TO Read More »